Addicted to Gelli printing? You're not alone! In fact, we've heard that from so many of you, we created a badge so you can share your passion for Gelli printing with the world!
![]()
We hope you like our badge and, of course, we hope to see it in action on your blog :) We'd love to highlight some of the blogs who showcase the Addicted to Gelli Arts badge so let us know if that's you!
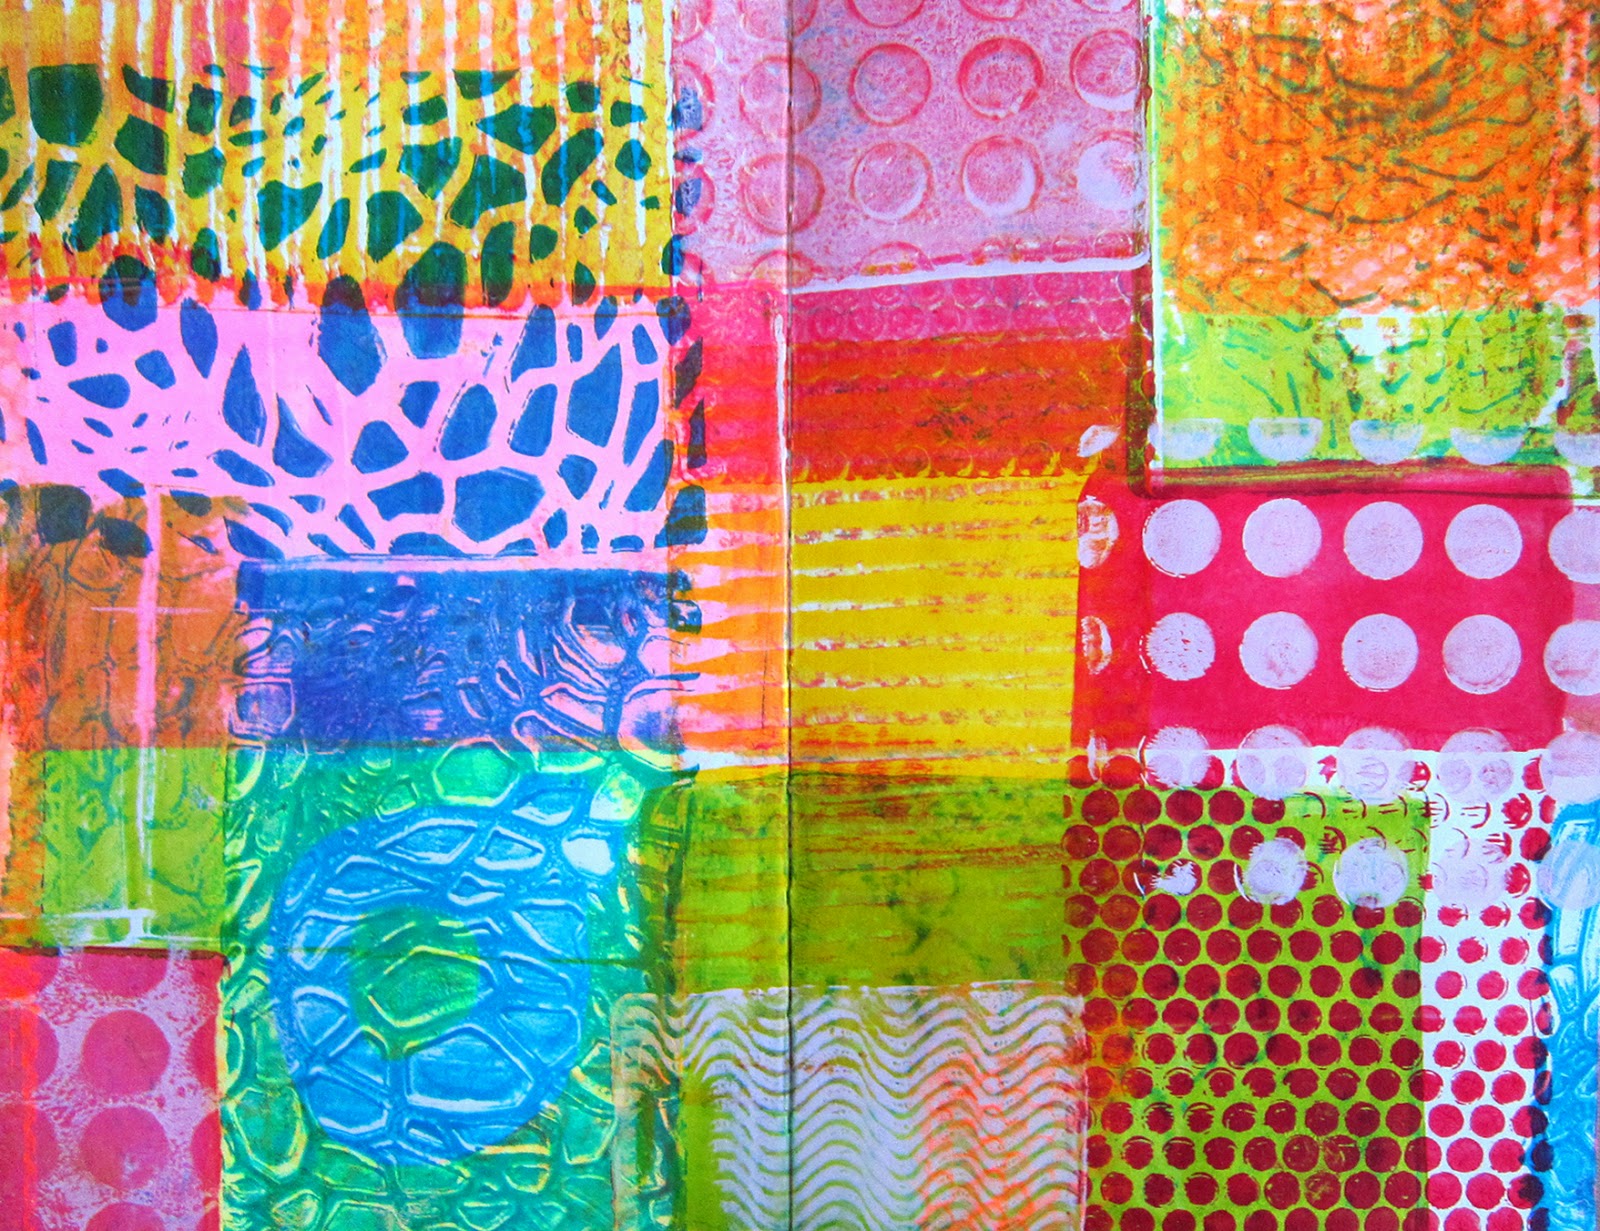
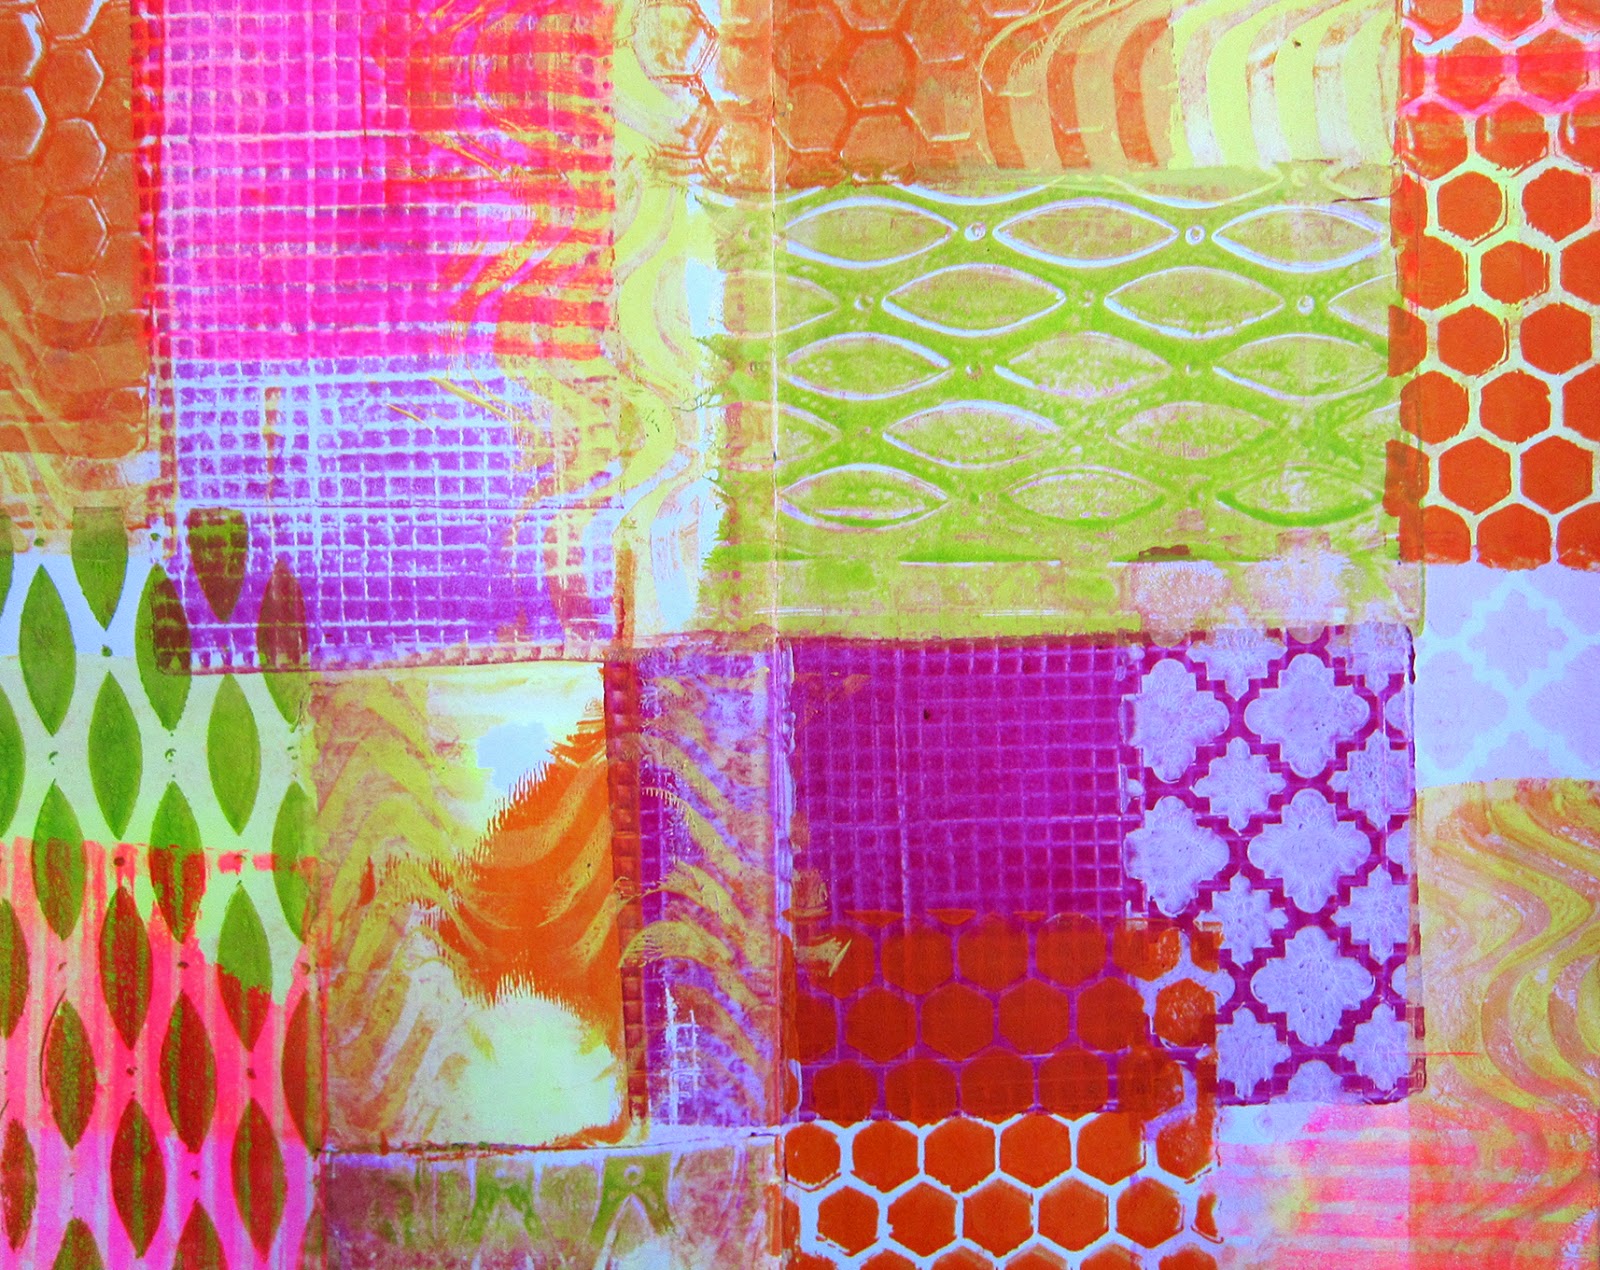
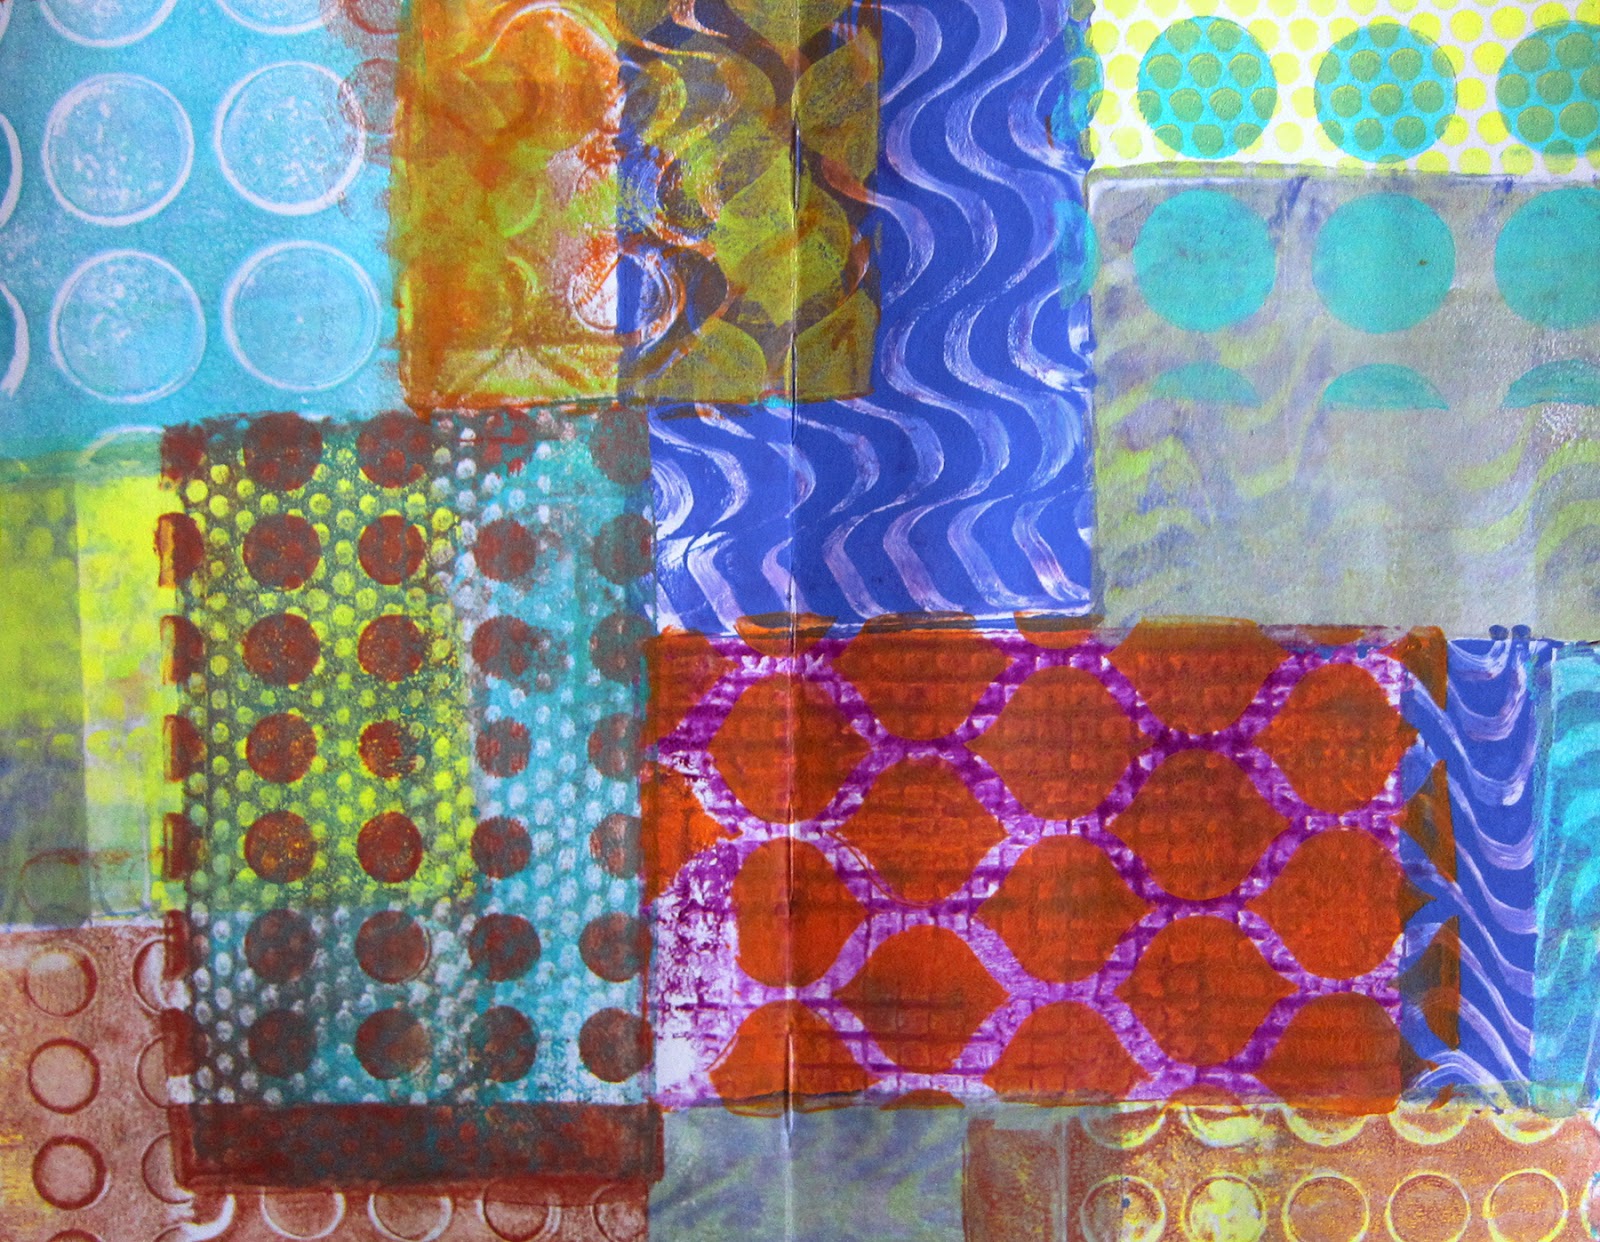
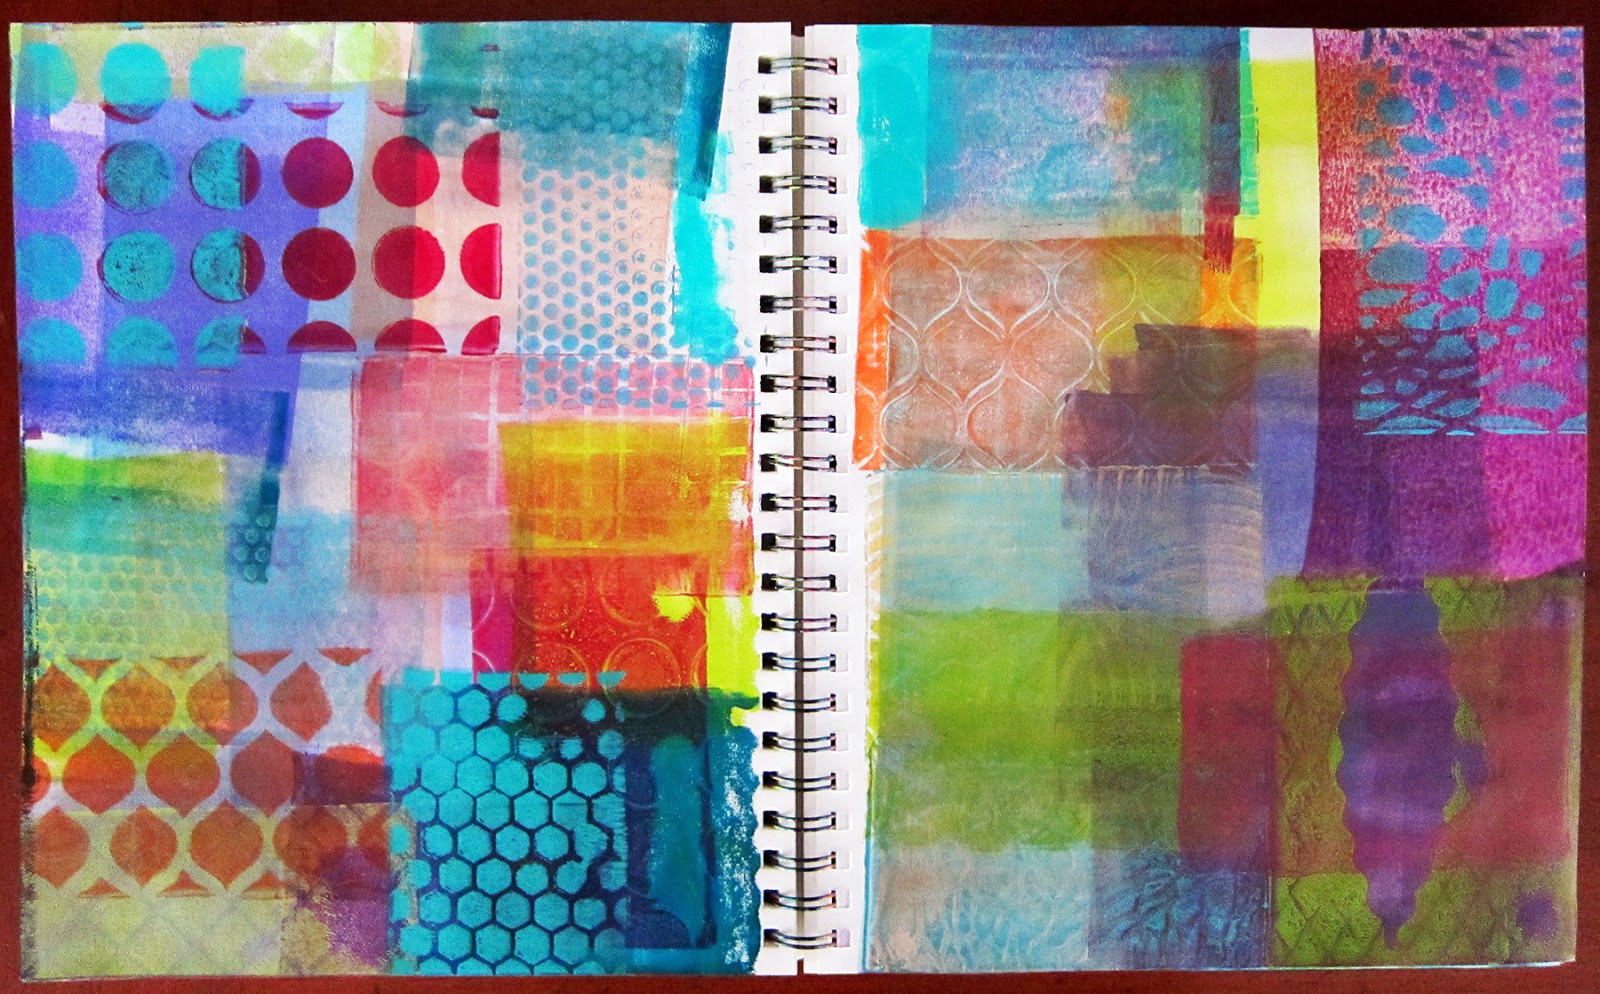
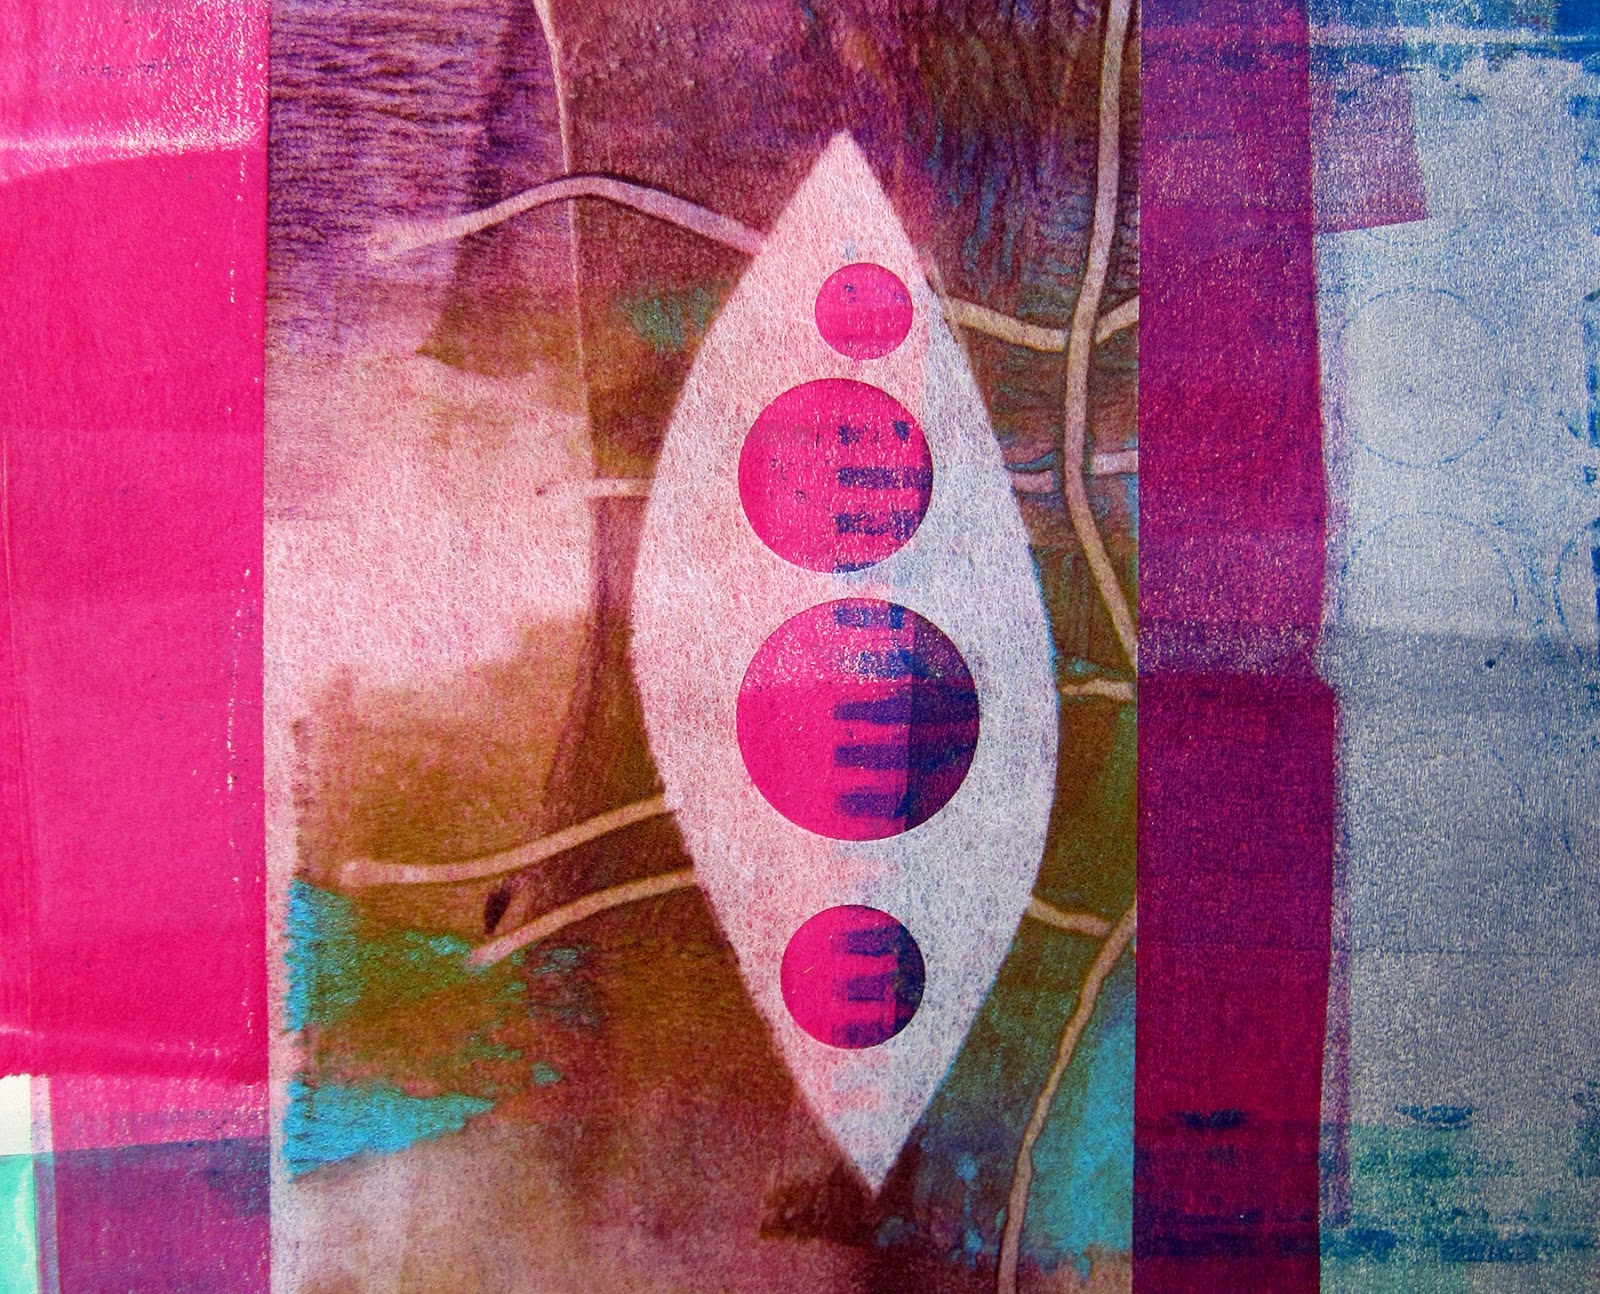
Watch what happens when you roll a layer of thick paint over a thin one ... for a unique way to create a layered multi-color Gelli print in one pull!
![]()
The principle for this process is simple:
![]()
![]()
![]()
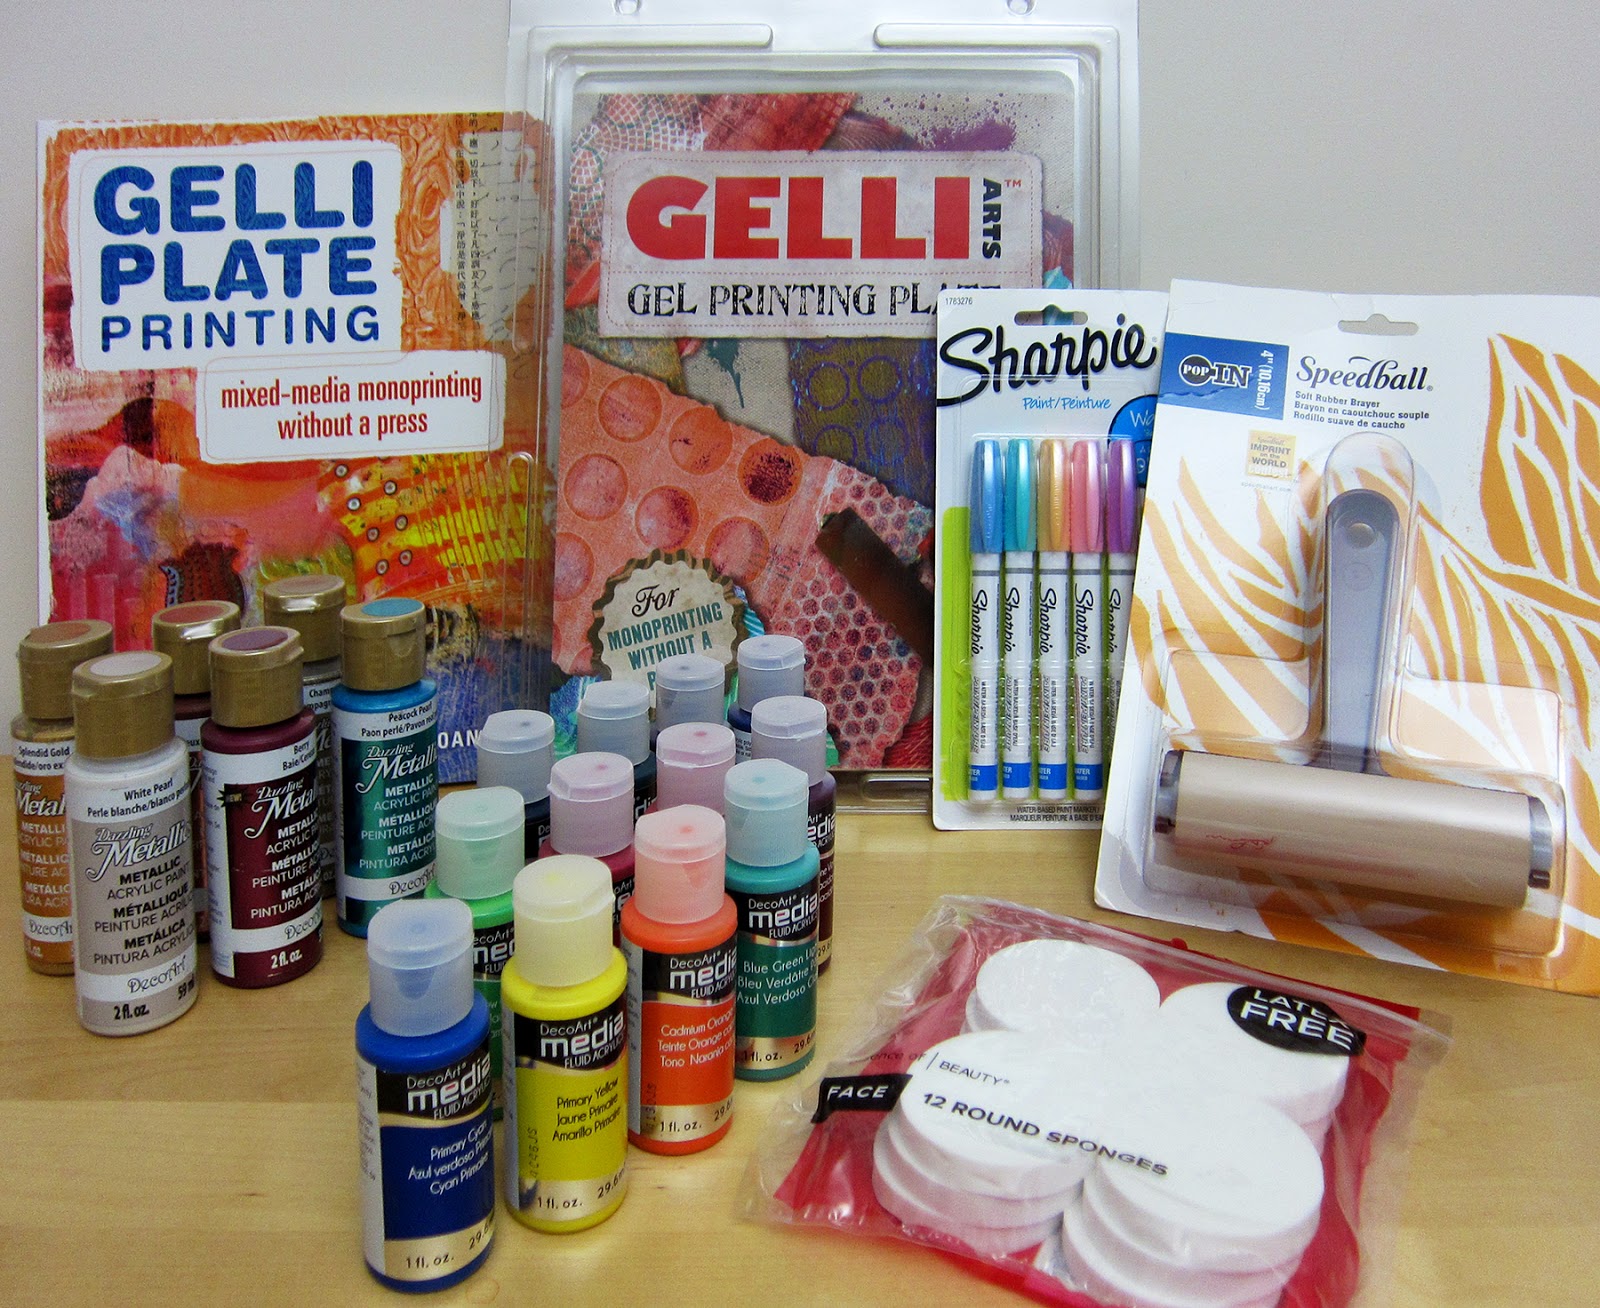
Golden Artist Colors has a brand new line of paints called High Flow — and they're great low viscosity paints for this technique!
Here's the step-by-step process:
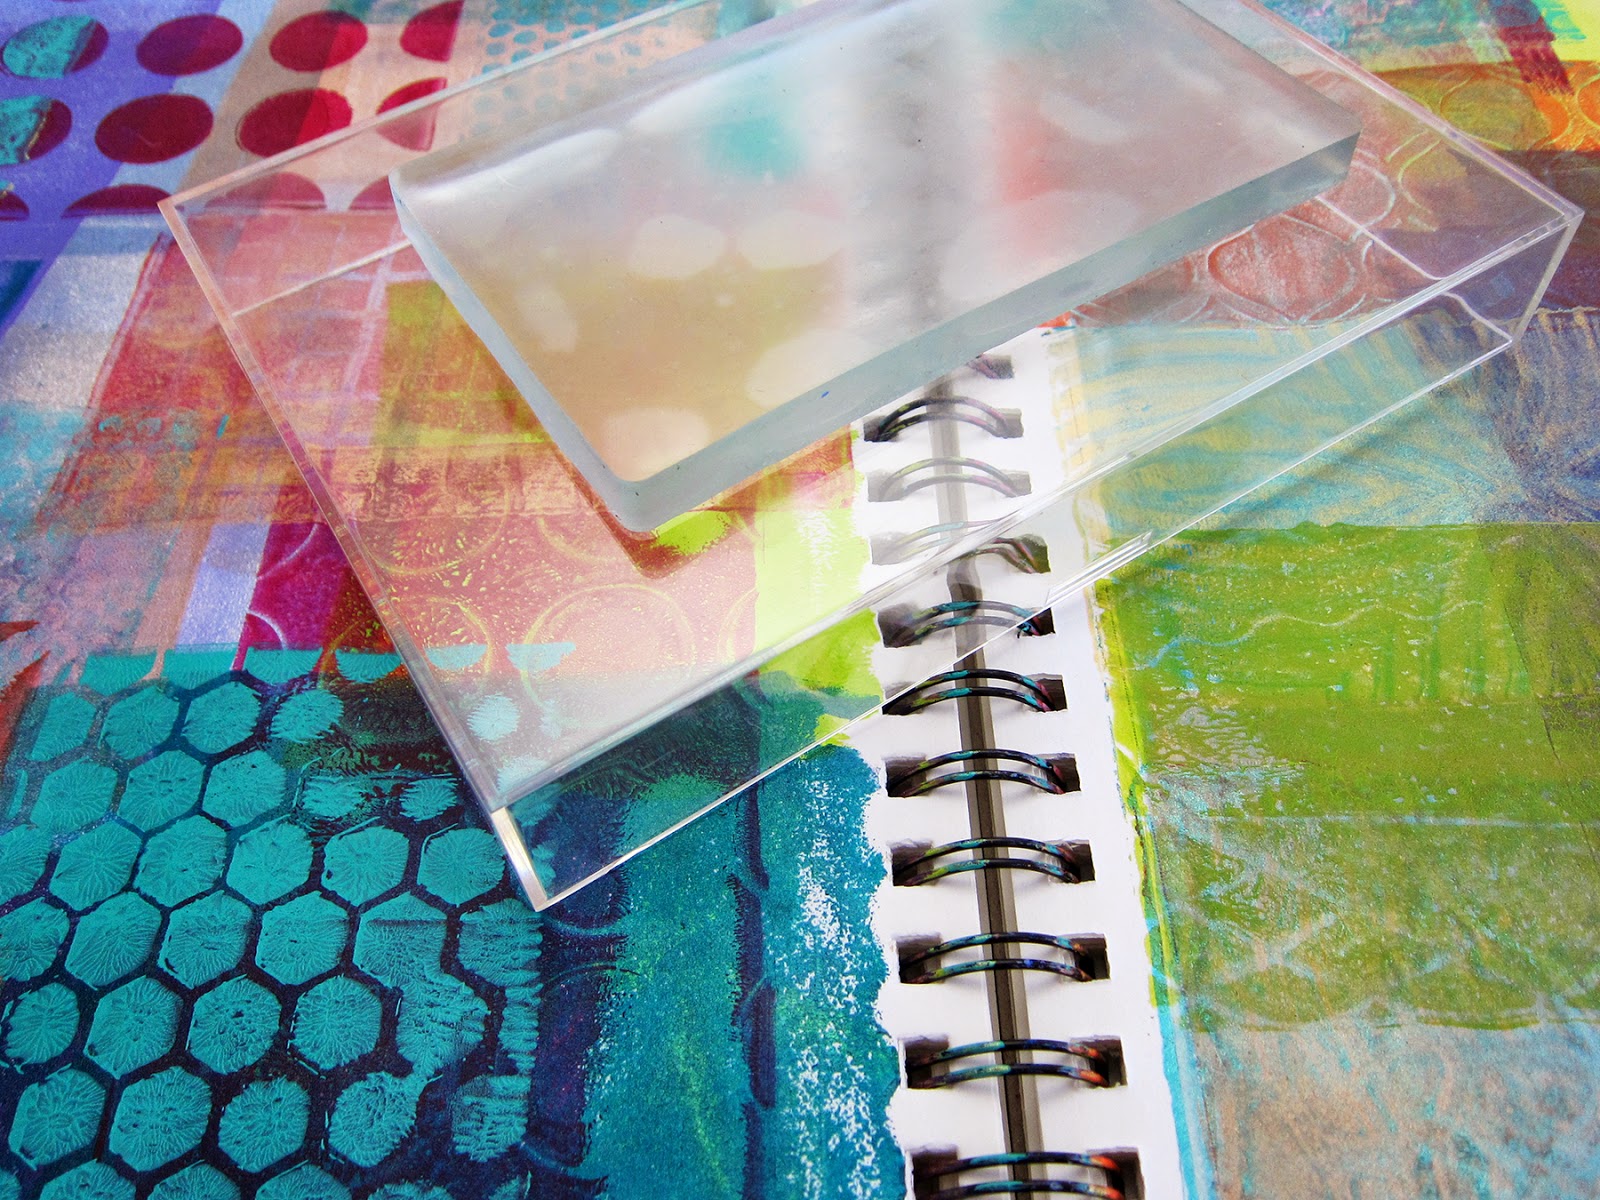
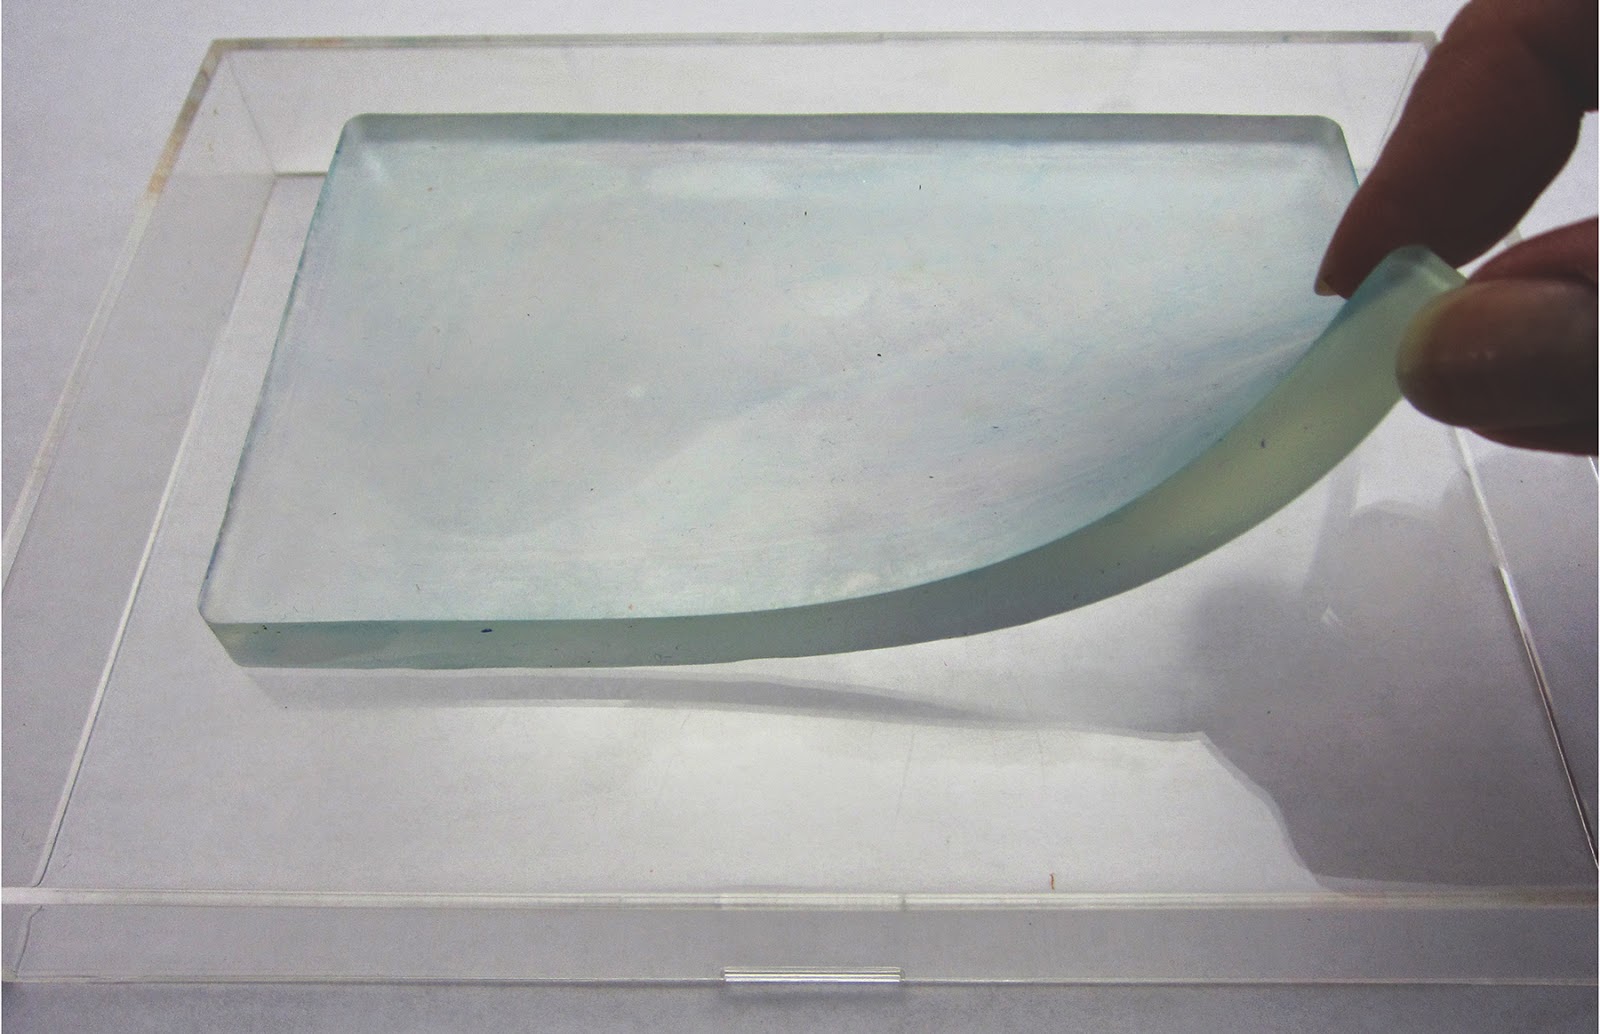
Printing Thick Over Thin
1. Roll a layer of thin paint onto your Gelli plate.
NOTE: If the paint beads up on your plate, try washing it with dish soap (I use Dawn) — then rinse and pat dry.
![]()
![]()
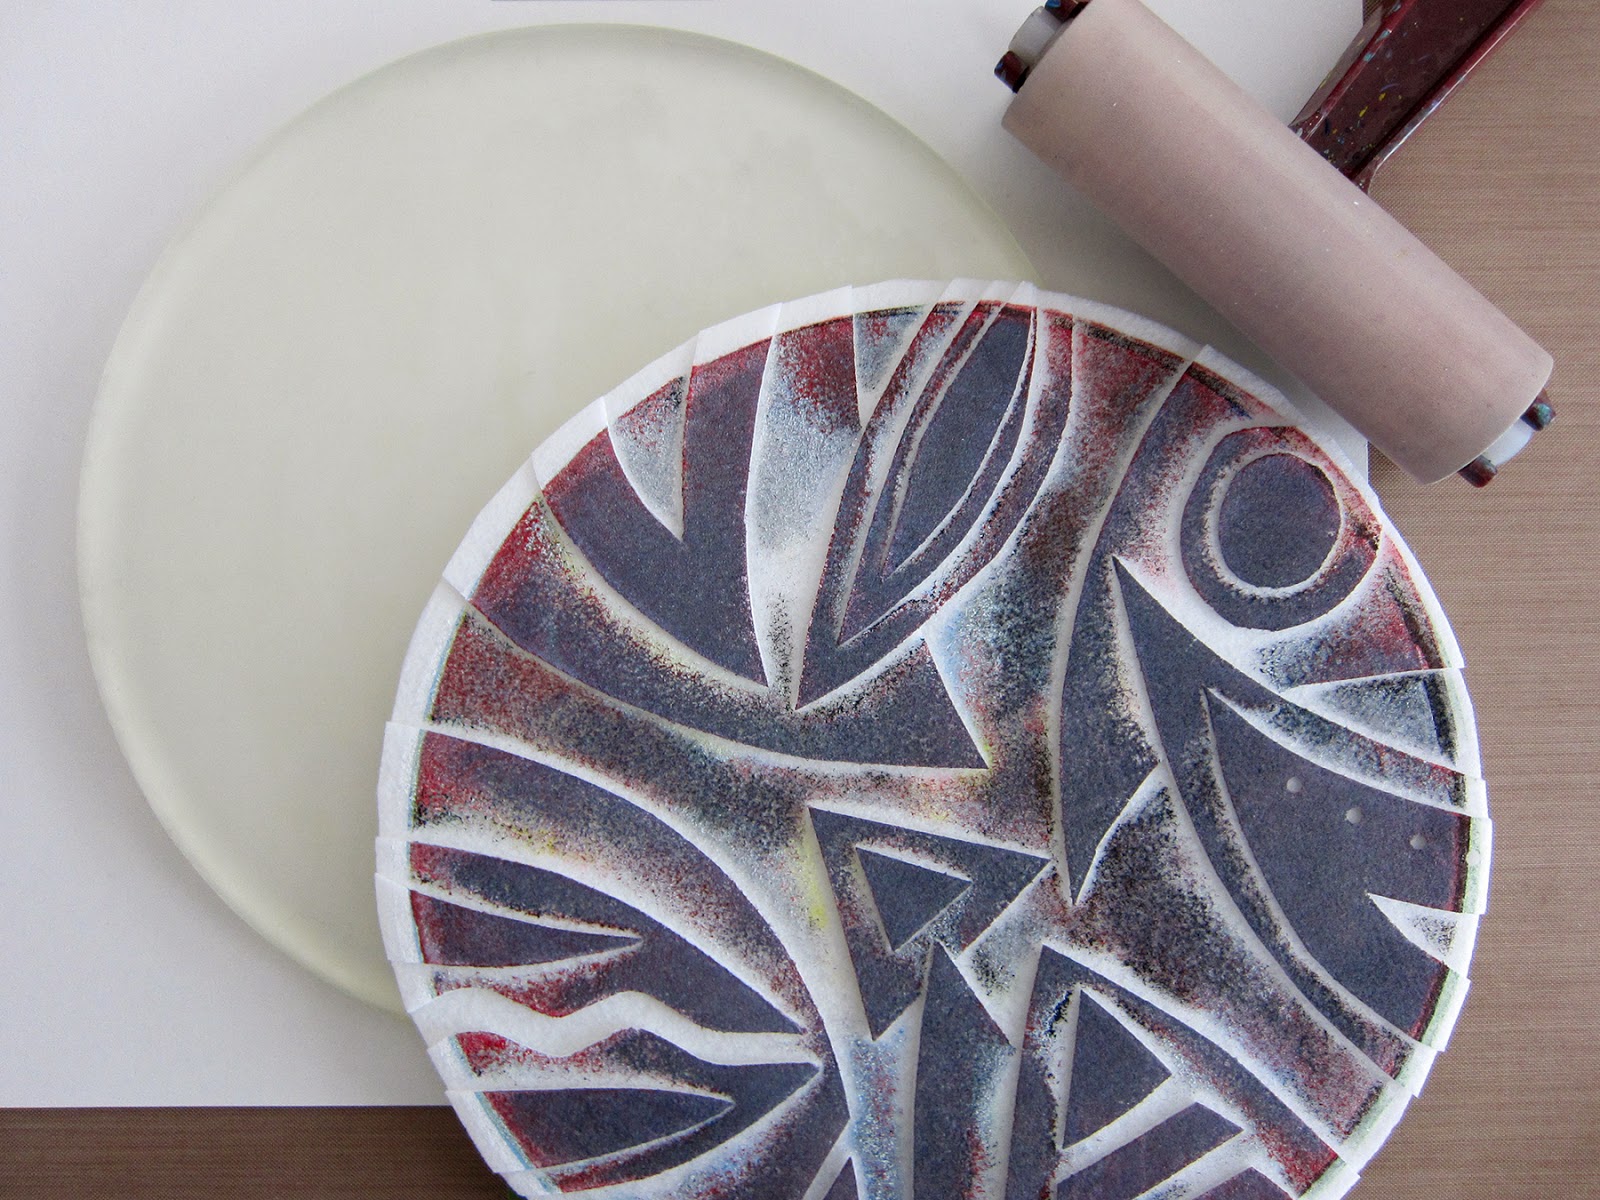
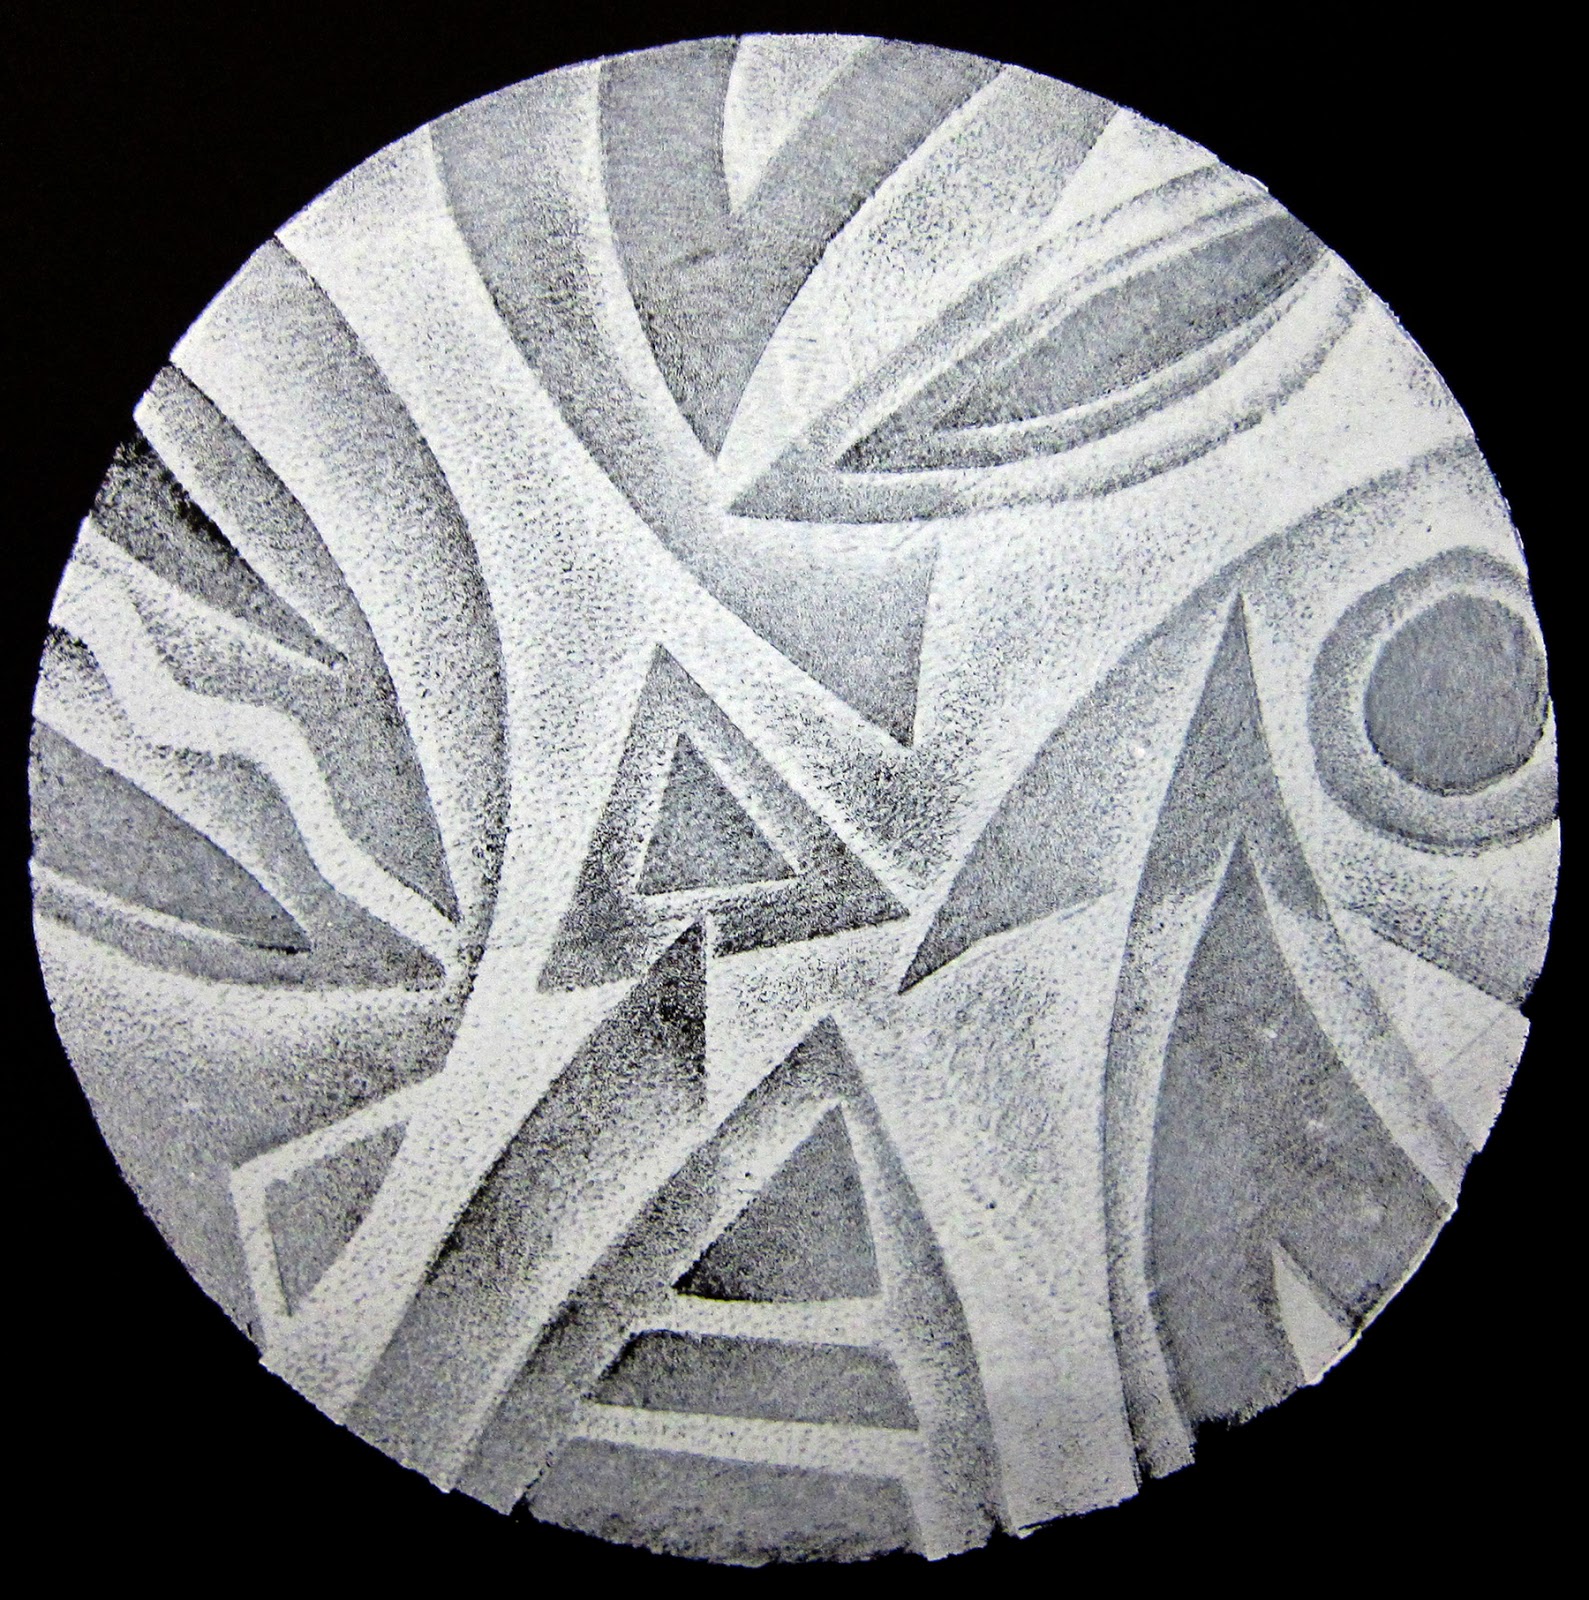
4. Carefully roll the thick paint over your first layer of thin paint on the Gelli plate. The thick paint will adhere to the bare areas — while it's repelled by the thin wet paint.
![]()
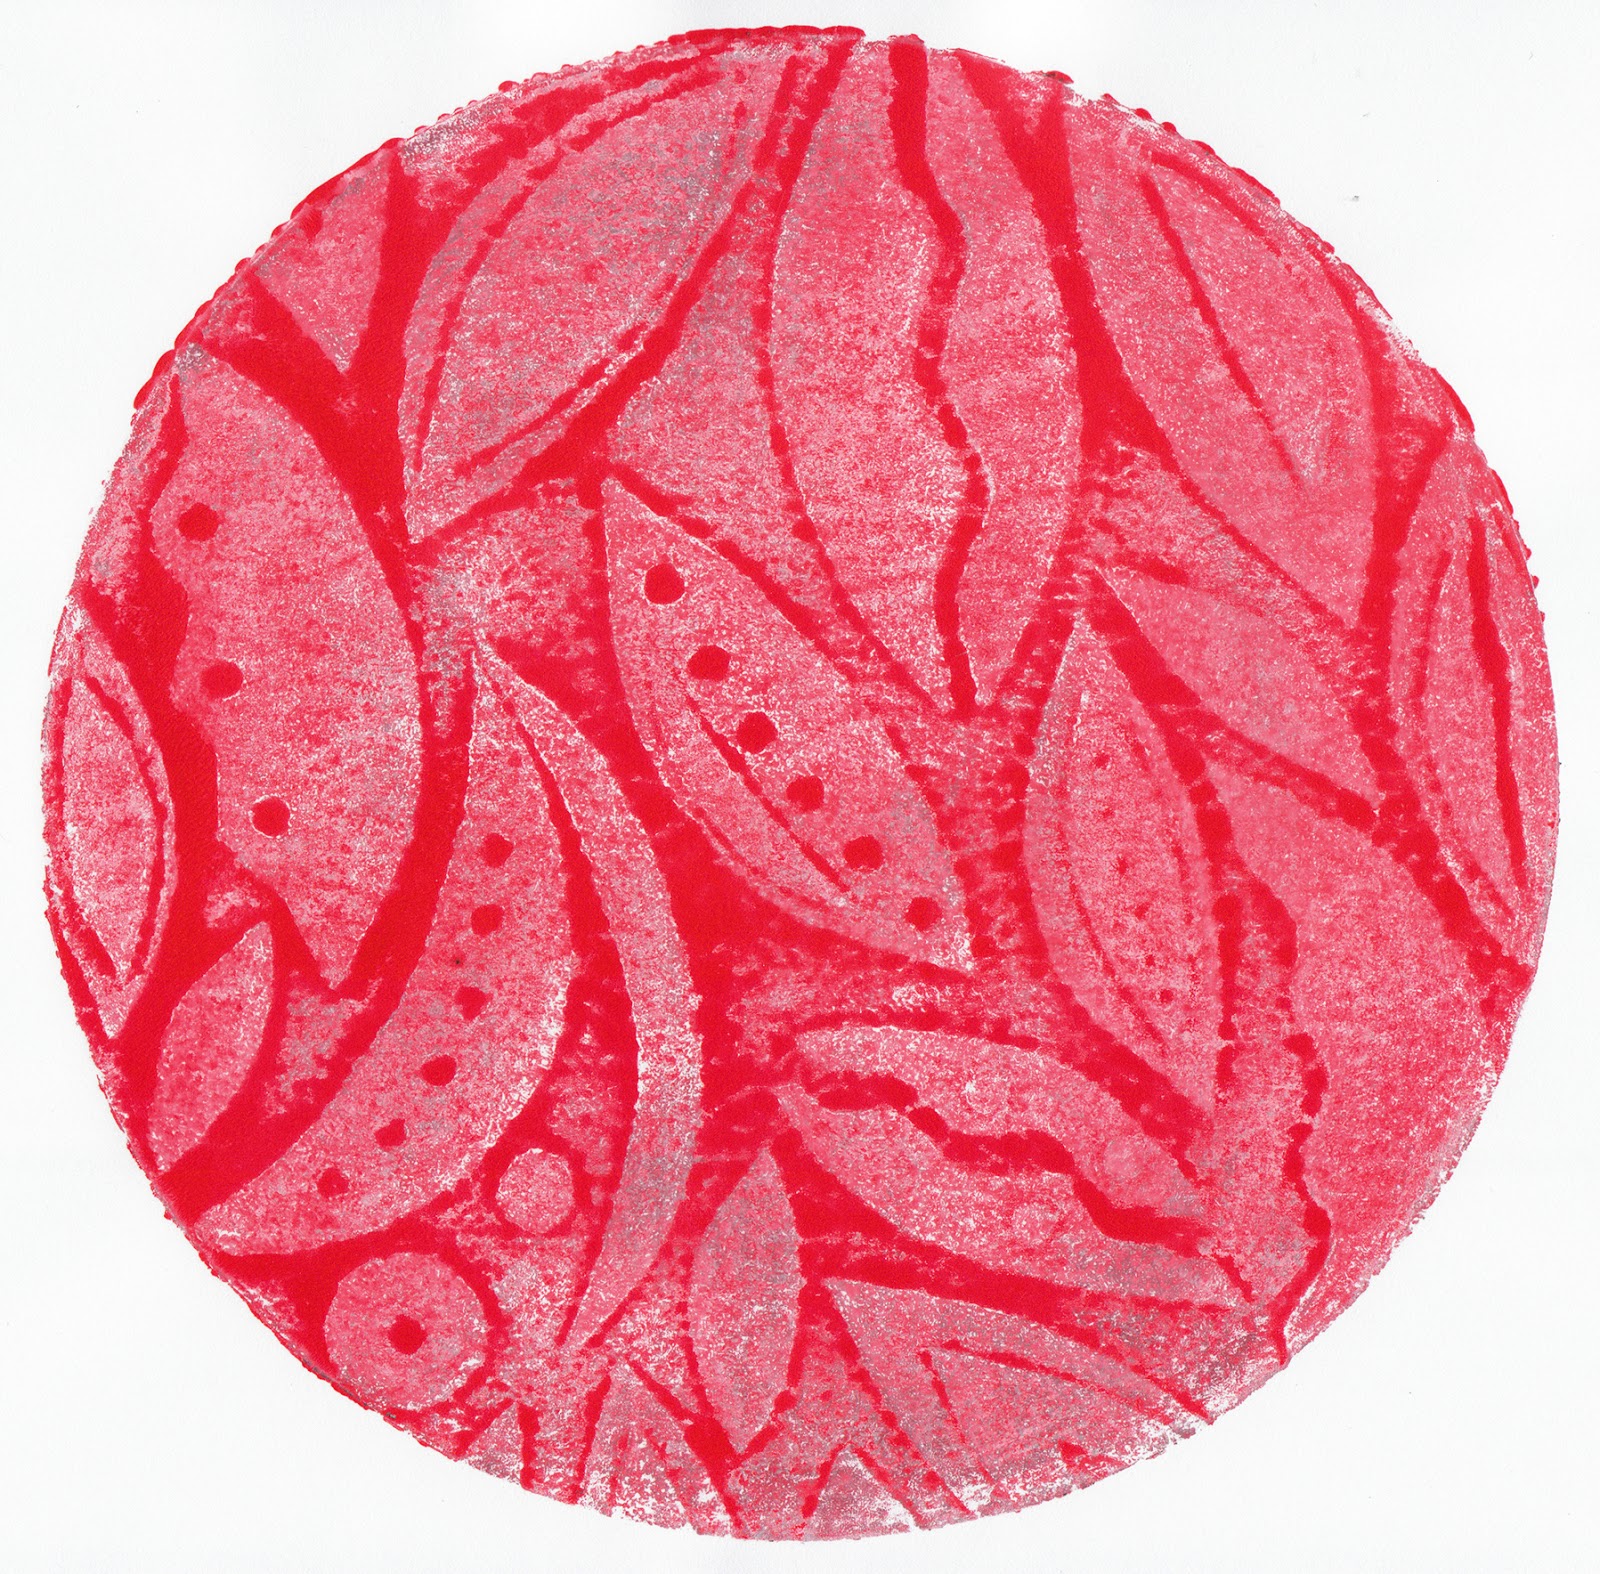
5. Cover the plate with paper, rub to transfer the paint — and pull your print!
![]()
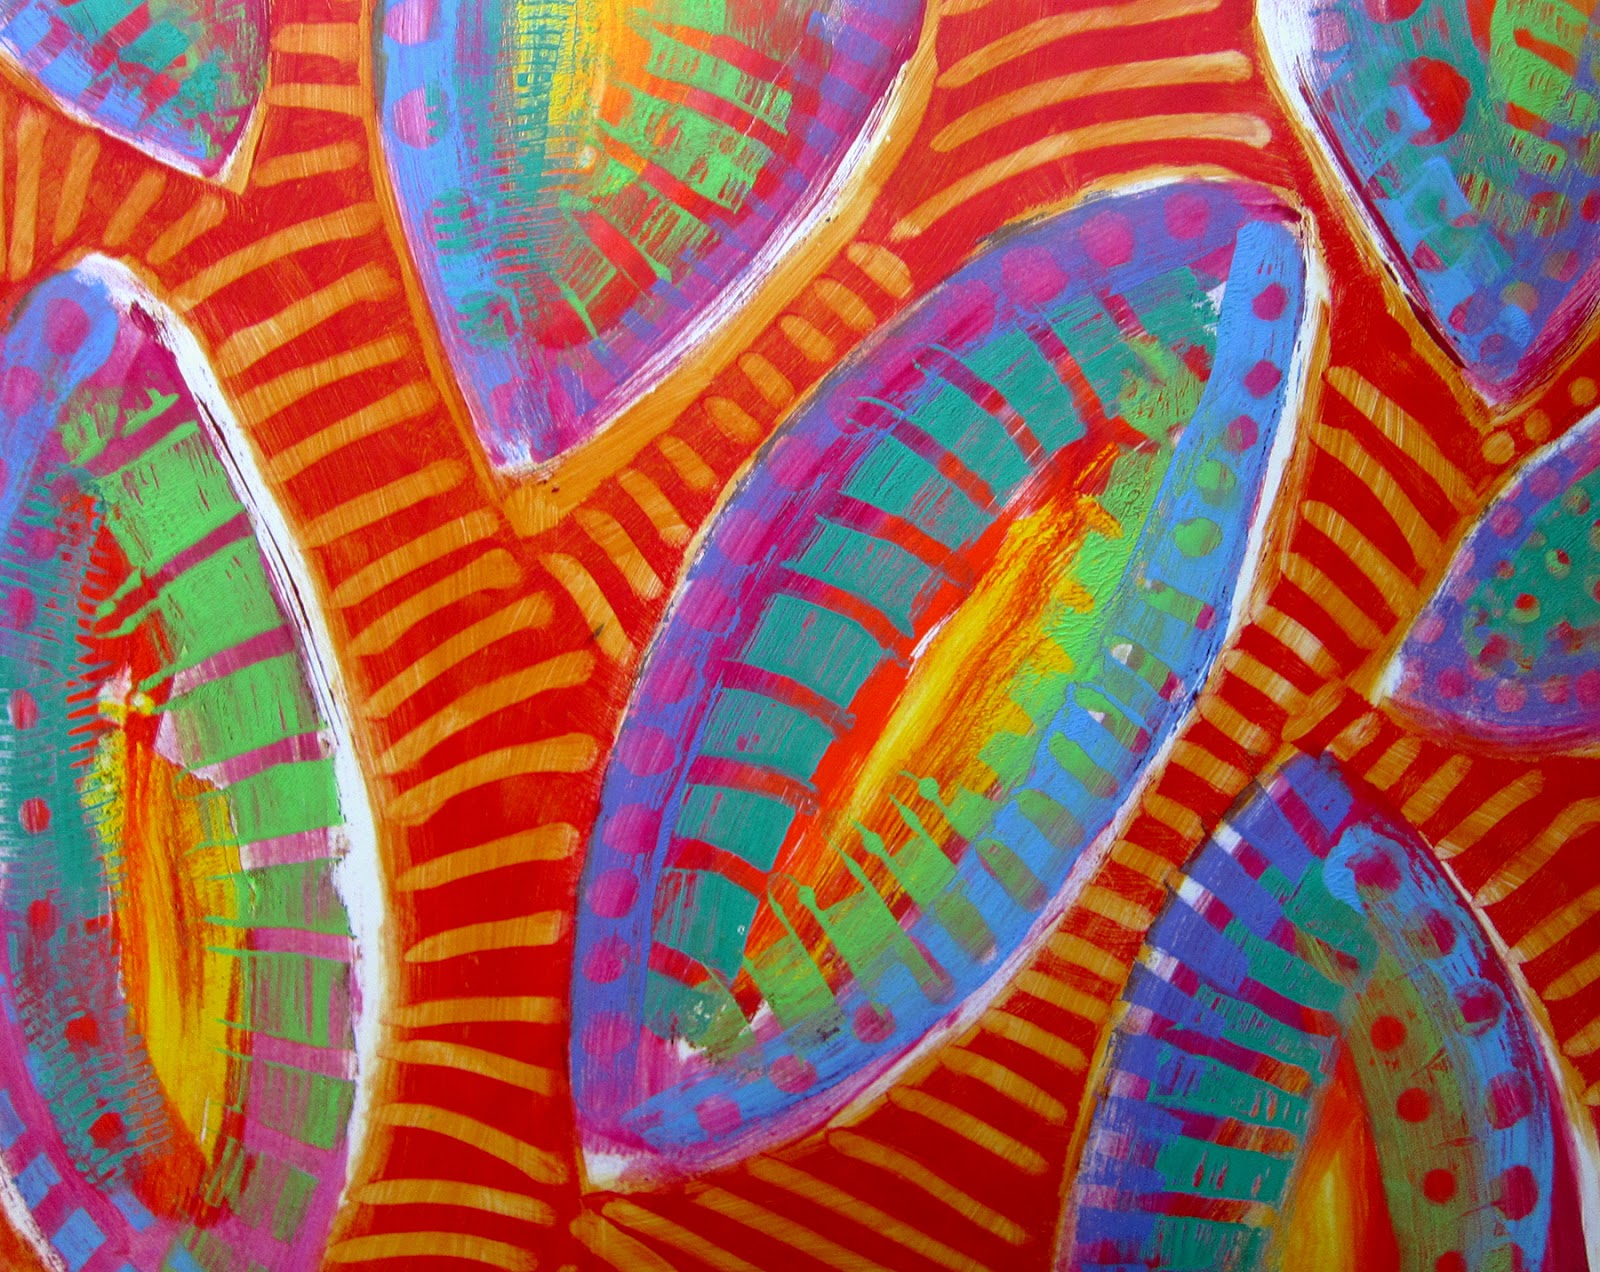
The paints will interact with interesting and unpredictable results — giving you a multi-color print in one pull!
NOTE: The brayer will pick up the pattern from the plate as you roll the second (thick) layer ... so have a piece of paper ready to roll off your brayer and capture these unique images :)
TIPS:
![]()
![]()
To be entered to win, you MUST leave a comment here on the blog (not on facebook... please leave comment HERE on the blog!)
Entries (via comments on the blog) will be accepted until 5pm EST on Tuesday, August 20th. A winner will be chosen at random and announced Wednesday morning, August 21st, here on the Gelli Arts blog and on our Facebook page!

To place our new Addicted to Gelli Arts badge on your blog, just copy and paste the HTML code below into the appropriate HTML/text widget on your blog!
- In Wordpress blogs, you'll want to insert this code into a text widget.
- In Blogger, click 'Design', then 'Layout', then 'Add a Gadget'. From there, choose the HTML/Javascript gadget and place the code there!
<div class="Addicted-to-Gelli-button" style="width: 150px; margin: 0 auto;"> <a href="http://gelliarts.blogspot.com/" rel="nofollow"> <img src="https://lh3.googleusercontent.com/-pXTA102K8jc/UgvSxIGHIXI/AAAAAAAABUM/2QyL6Y28wSg/s150/Gelli-Arts-Web-Badge.png" alt="Addicted to Gelli" width="150" height="150" /> </a> </div>
We hope you like our badge and, of course, we hope to see it in action on your blog :) We'd love to highlight some of the blogs who showcase the Addicted to Gelli Arts badge so let us know if that's you!
And now ...
Another exciting technique for your Gelli printing!
Watch what happens when you roll a layer of thick paint over a thin one ... for a unique way to create a layered multi-color Gelli print in one pull!
If you're fascinated with unpredictable paint interactions — you'll want to explore this FUN technique!

- A layer of thin paint is rolled on the plate ... you must have areas with NO PAINT.
- Quickly, load your brayer with thick paint and roll it over the thin wet paint.
- The thick paint will adhere to the plate in the bare areas — and is repelled by the thin wet layer underneath!
- Wet paint is rolled over wet paint ... so it's FAST and FREEand FUN!!!

This is also known as "Viscosity Printing". The key to this technique is using paint layers of very different viscosities.
So, in case you're wondering ...

High viscosity paints are thick
— like heavy-body acrylics.

Low viscosity paints are thin and flow easily
— like acrylic inks.
Golden Artist Colors has a brand new line of paints called High Flow — and they're great low viscosity paints for this technique!
Here's the step-by-step process:
Printing Thick Over Thin
1. Roll a layer of thin paint onto your Gelli plate.
NOTE: If the paint beads up on your plate, try washing it with dish soap (I use Dawn) — then rinse and pat dry.

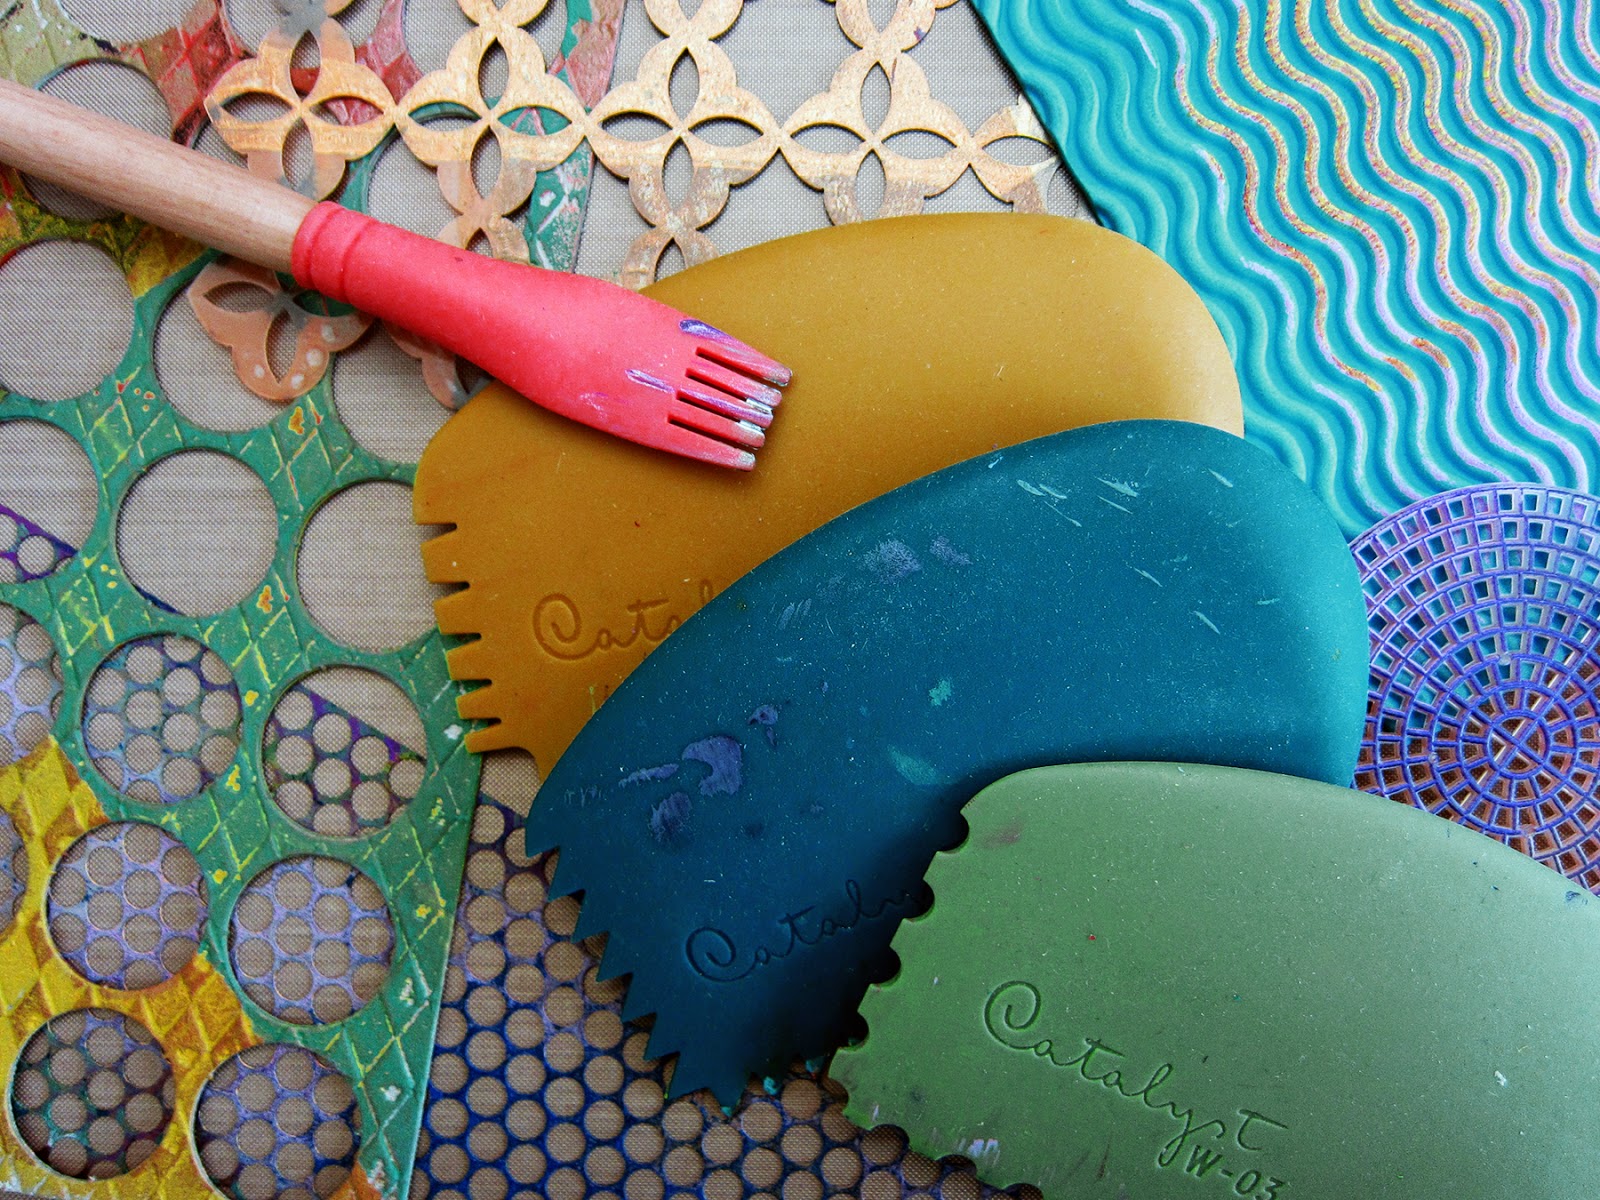
2. Remove some paint using a paintbrush ... or cotton swab ... or comb ... or your favorite texture tools ... and create a design.

3. Apply thick paint to a palette and roll out to load your brayer.

NOTE: There's an element of "touch" involved in this step. As you experiment, you'll get a feel for how much paint to load on the brayer ... and how much pressure to use when rolling the brayer on your plate. You can "kiss" the surface with a light touch ... or use a heavier hand and lay down more paint. The results can vary accordingly, so be prepared to play a bit :)

The paints will interact with interesting and unpredictable results — giving you a multi-color print in one pull!
NOTE: The brayer will pick up the pattern from the plate as you roll the second (thick) layer ... so have a piece of paper ready to roll off your brayer and capture these unique images :)
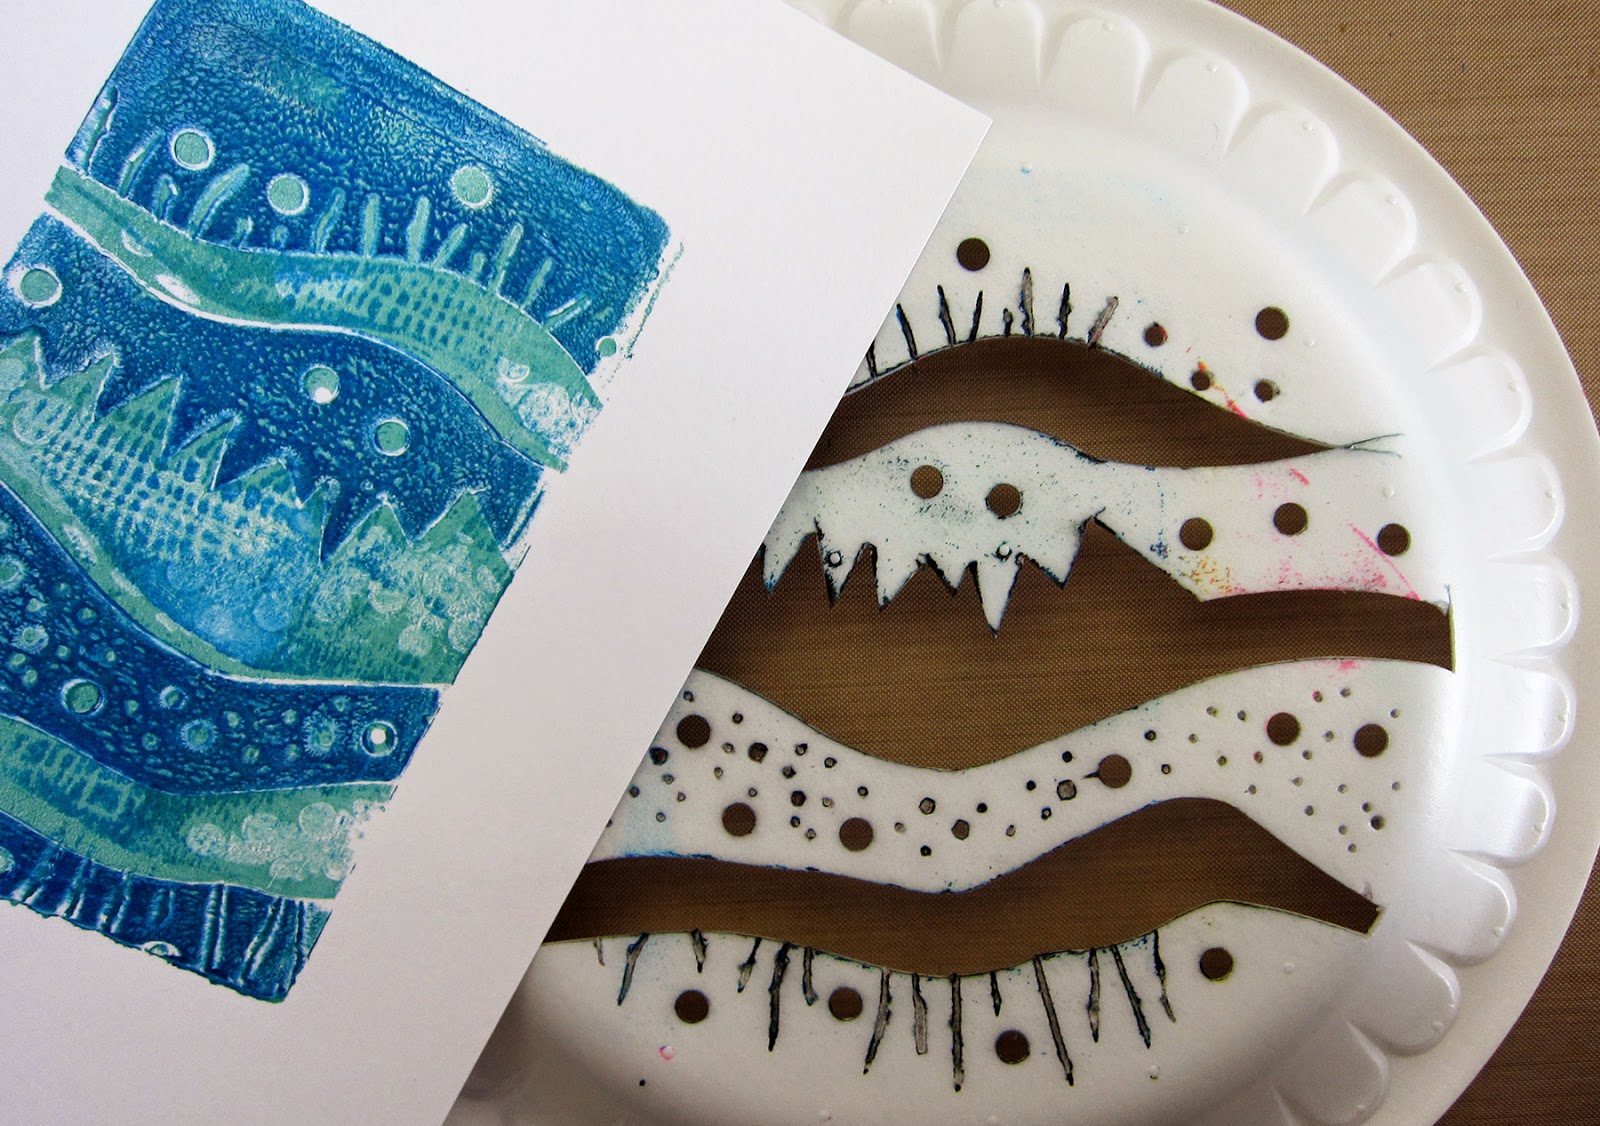
 |
| Brayer picks up the pattern from the painted plate! |
 |
| Roll the brayer on a piece of paper for an offset print! |
 |
| The painted brayers will repeat the pattern as they roll — like a ghost print |
- Keep a sketchbook handy for rolling your brayer and create fabulous pages with various offset prints! You'll quickly have a collection of great pages!
- Have fun combining "Thick and Thin" printing with stencils and masks.
- Use metallic paints! They're available in thick and thin viscosities.
- Roll out more than one color in each thick and thin layer.

Combs make wonderful marks and create fabulous effects in viscosity prints!
Try the new Catalyst Contour tools by Princeton Artist Brush Co. for creative mark-making!
 |
| Empty Montana markers filled with High Flow! |
Golden High Flow acrylics have the consistency of ink ... so they're liquid.
Which means they're ideal for using with a pen or brush!
Following a recommendation by Golden, you can load High Flow acrylic paint into refillable markers— great for working back into prints!
Printing with different viscosities is fun and adventurous ... not to mention ... addicting!!! Give it a try — you'll create some amazing effects!
Check out our fabulous GIVEAWAY!!!

Our INCREDIBLE PRIZE will have you printing in the "Thick and Thin" of it ... and includes:
- 1 (One) —6"x6" Gelli Arts Gel Printing Plate
- 3 (Three) — 4 oz Golden High Flow acrylic colors
- 3 (Three) — 4 oz Golden Heavy Body Acrylic Colors
- 4 (Four) — Catalyst Contour tools
To be entered to win, you MUST leave a comment here on the blog (not on facebook... please leave comment HERE on the blog!)
Entries (via comments on the blog) will be accepted until 5pm EST on Tuesday, August 20th. A winner will be chosen at random and announced Wednesday morning, August 21st, here on the Gelli Arts blog and on our Facebook page!
And while you're feeling the Gelli love ...
Remember to grab the new Gelli badge to post it on YOUR blog! Let us know if you do ... we will be looking to highlight blogs with the badge on our Gelli Arts Facebook page :)


.jpeg)